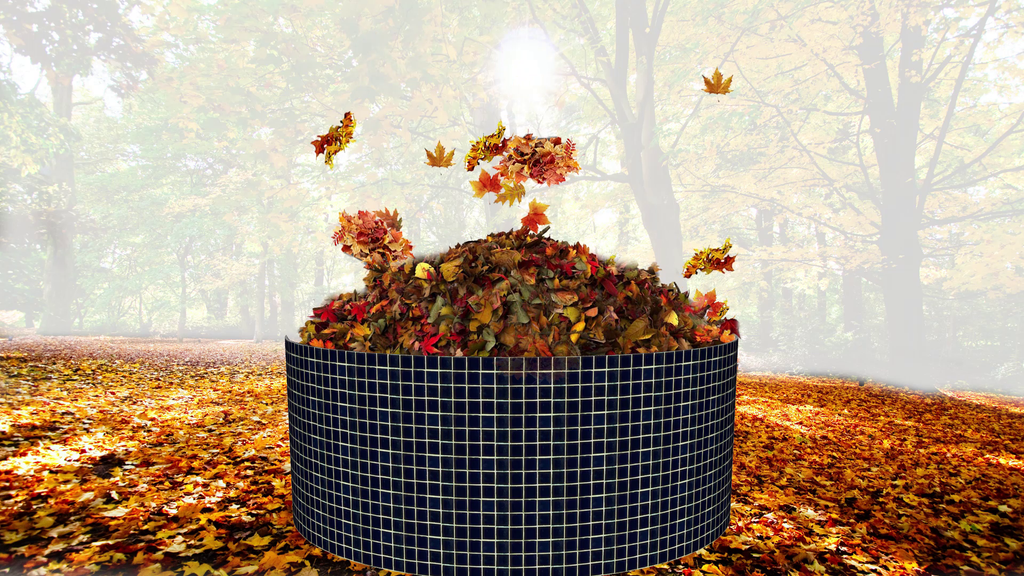
We are putting in a demonstration installation of Garden Circles right here at our headquarters on the Hunt Utilities Group Resilient Living Research Campus. The process of figuring out just where and what it would look like was interesting and may be useful to others out there contemplating how to plan Garden Circle installations. Of course, we can always help, too.
Criteria
First we decided what was important to us and came up with this list:
- Creative shape demonstrating the creativity of the system
- Good visible location where visitors could see it well
- Location where it could be tended and observed.
So we picked the front yard of the founders' home in the center of our research campus.
Making a Map
We got an image from Google Earth that showed the interesting shape of the yard between curvy sidewalks. I opened that image in a free drawing program called Inkscape and used it as the base layer. I scaled the image within the program based on the measured size of a large concrete patio that was 20ft X 40 ft, a one time staging surface and possible garage floor). To scale it, I made a rectangle that was 200X400 pixels (so each pixel was 0.1 ft), made it partially transparent, and then scaled the image and rotated it till it fit directly over the patio in the image.

Trying out Ideas
Then we started drawing circles.
The first design was simple and would show off the simple round shapes of different sizes and be easy to tend near the sidewalk. Not much pzazz, though.

The second design was meant to be similar, but show off the linking feature. Paul and Lynn, the founders and my parents, were not moved by this one, either.

Then went a little more creative. we figured it would not be understandable artistically except from the air, plus it was more beds than we thought we wanted to manage. It's a cute sorta seahorse, though.

Then we started drawing in the arching trellises made from cattle panel mesh. We went back to extremely simple, again, but moved on very quickly to derivations of previous plans we had drawn up.

Dragonfly? Maybe...

Spiral Labyrinth? Interesting...

You know when you finally see something that you like and you just decide? That is what happened with the final design and Lynn (the ultimate decision maker). We took the Quad 4 U basic shape and added a few extra lines to make the space flow a bit more.

This shape is made with 36 Garden Circles and will have a 16ft X 16ft patio in the middle made from patio block that matches the sidewalk. It will be a very nice addition to their outdoor living space. And, while they are lounging or grilling on the patio, they can tend the plants.

So, that is how you can do a large installation design and try out a bunch of ideas. Stay tuned for updates on construction of this garden, irrigation installation, and planting, tending stories.
We will even try out some seer repelling ideas on these to see what works and what doesn't.
Continue Reading


